
SStreets Style shots from Montreal’s Fashion & Design Festival

Street Style shots from Montreal’s Fashion & Design Festival

Street Style shots from Montreal’s Fashion & Design Festival

Street Style shots from Montreal’s Fashion & Design Festival


Examine each corner of your life and lighten in. Let the light in every way you can. Clear space, both physically, mentally, emotionally and spiritually to run with the flow of spring. This way, when an opportunity appears you will have the light space and the clarity to know exactly what to do with it. And do remember keep smiling ever ........
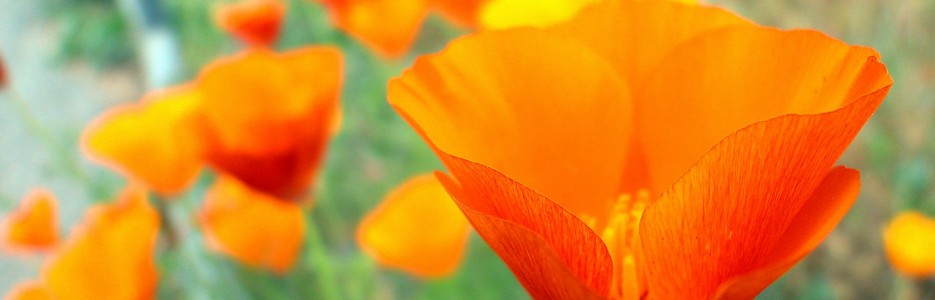
“He said that we belonged together because he was born with a flower and I was born with a butterfly and that flowers and butterflies need each other for survival.”

Love is like a beautiful flower which I may not touch, but whose fragrance makes the garden a place of delight just the same.

Perfumes are the feelings of flowers

“Flowers and fear are a lot alike. For one, flowers and fear have a distinct smell, and two, I’m currently trying to grow both in my garden.”

 Your main places to buy brushes will probably be the internet, art/hobby stores and nail supply stores. If you choose to buy online, I would suggest Amazon or Ebay, but beware of those amazingly cheap sellers from China on Ebay. The quality can be quite dodgy, you might find them losing their point and falling apart in a couple weeks.
 If your brushes are stiff and hard, it means there is dried polish in them. You can soak them in some remover or acetone, but try not to leave them for toooooo long! The first time I soaked my brushes I, very stupidly, left them bristle down in a glass of remover and came back to find a bunch of brushes with bent tips.
 To preserve the point while you soak your brushes, use a clothsepin to suspend them in acetone. Clip it onto the brushes and place it over the rim of the glass so the brush is suspended in the remover. Submerged, but not touching the bottom of the glass, as you can see in the photo above. Leave them for about an hour, then rinse them in water to remove any acetone and leave them bristle up to dry.
 There's a few different brands out there that are pretty well liked, one is Migi. They are a two way nail art pen, meaning they have a brush (in this case a normal size brush) and a pointed tip. They have a great selection of colors, and what makes Migi really unique is that they offer free refills and free replacements. Talk about service! You can buy them in sets of 8 colors for $24.99 from the Migi website, or sometimes you can find a good deal on Amazon
 If you live in the UK, your best bet is Nails Surpreme Nail Art Pens. Sophie from The Illustrated Nail uses them, what more do you need to know!? They're very high quality and have the same brush/nib style as Migi. You can get a set of 8 for just under £20, so they're still pretty affordable. They also include a fun set of instructions and ideas of stuff to do with them.
 Another good option in the UK is the Model's Own pens made in collaboration with Wah Nails. They're also two way style and they're easy to find in most Boots stores or Topshop. I found them in Guildford...they're out there if you look! They're £6 each so if you want loads of colors, it's more cost effective to go for the supreme ones.
 One brand that I have tried and really do not recommend is the Cina pens from Sally Beauty. They have a tip similar to a felt tip marker...far too thick for what I need. You have to shake it and press down the tip to get the polish flowing, and once it is it tends to come out in huge globs all over your finger. What a disaster! Steer clear of this one! I've also heard some pretty bad stuff about the Sally Hansen ones in the same style as Cina, but I've never tried them.
 The nail art pens I'm currently using are from Ebay, from one of the many online nail retailers based in China. They were about $5 with free delivery and they are very average. Most of the colors are opaque (although I got a couple of duds in my pack of 16) but the polish smells terrible and the long brushes aren't cut well. The tips work perfectly, the polish flows really nicely and I'm totally re-filling them with my own colors! If you're on a super-budget they're alright, but Migi or Supreme is better if you can splurge!


